Showing posts with label PROJECTS. Show all posts

Tuesday, July 12, 2016

A gift from my husband

Welcome to Irishman Acres....


Ever since we started traveling to the Rocky Mountains and seeing big beautiful ranches they have out west, with entrances announcing their farm or ranch name, I've wanted a similar sign hanging at the end of our driveway. This will help in giving directions to our home now...." turn into Irishman Acres!". 

My handsome husband finally listened and for Christmas this past year, I got it! He designed it and had local metal workers make this large heavy thing! It definitely didn't fit under our Christmas Tree! 


Most women wouldn't be as giddy as I was getting a huge metal sign. My husband knows me so well, and he was just as excited to give this gift as I was to receive it! 

We had to wait until spring to install it at the end of the driveway. The ground had to thaw....and then it was too muddy with the spring rains.....and finally, PROGRESS! 


I wasn't home at the time, and probably a good thing....anytime there is heavy machinery, ladders, and our boys involved, I should not be around!! HA! 

We are loving this new entrance to our farm. Baileyhusband says that he would like to add another pole across the top to steady it even more, I'll let him decide that, sounds like a lot of scary tedious work to me. I, however, do have plans of adding some landscaping around the base of each side. I'm picturing a lot of perennials that bloom in every season. Some iris for spring, lillies and daisies for summer, and mums for fall. I will update here when that is done, hopefully later in the summer/ early fall.

 In the meantime, you can follow us on our Facebook page. Or on Instagram.
Would love to connect with you there! 


Friday, August 15, 2014

4H County Fair projects

Every year, we tell ourselves that there will not be any last minute projects made for the county fair. And EVERY YEAR, the kids are scrambling to finish all of them and get all their goals written, photos printed to show the process to the judges, etc. 

                    .....oh the joys of motherhood, and procrastination!

Today, I wanted to show you all what they made....and some other projects that I saw in other booths that I found awesome.

Sierra's first project was to dye pillowcases. She did a fold and clamp method that we saw on The White Buffalo Styling Co. You can watch Lindsay's tutorial HERE. Sierra started with 2 plain white pillowcases that we purchased for just pennies at Goodwill! 

                   .........(Have I mentioned how much I love that store???) 

And we bought a few different colors of RIT Liquid Dye to choose from. 


This was a fun, easy-peasy project to do...I have purchased YARDS of white fabric since then to hopefully do some more projects with this method! Sierra's pillowcases turned out pretty cool, huh?

                          ......one blue, one pink


And yes, our volleyball net makes a great clothes line :)

This was the start of Sierra's second project...we are obsessed with everything "tribal" right now, especially dream catchers. She used a giant embroidery hoop and a doily that we already owned, and made this amazing large statement piece dream catcher. 

                     ....already looking beautiful


Using feathers from our farm, the only thing she really had to purchase was the leather straps and some of the wooden beads. This has already moved onto 3 different walls, I love it so much, and move it into whatever room I'm spending most of my time in on that day...

{Sorry for the grainy cellphone picture}


Now my creative little soul, Wyatt. He has so many dreams and plans throughout the year, it's hard to get him to narrow down the projects that are actually do-able for our tight (procrastinating) time-frame.


He started this snowman out of woodblocks at a 4H project meeting, then the club members were to take it home to finish it however they would like. Since it was the heart of summer...here is what he came up with....

You have all seen Frozen, the Disney-animated movie, right? Well this is Olaf. Isn't he cute?


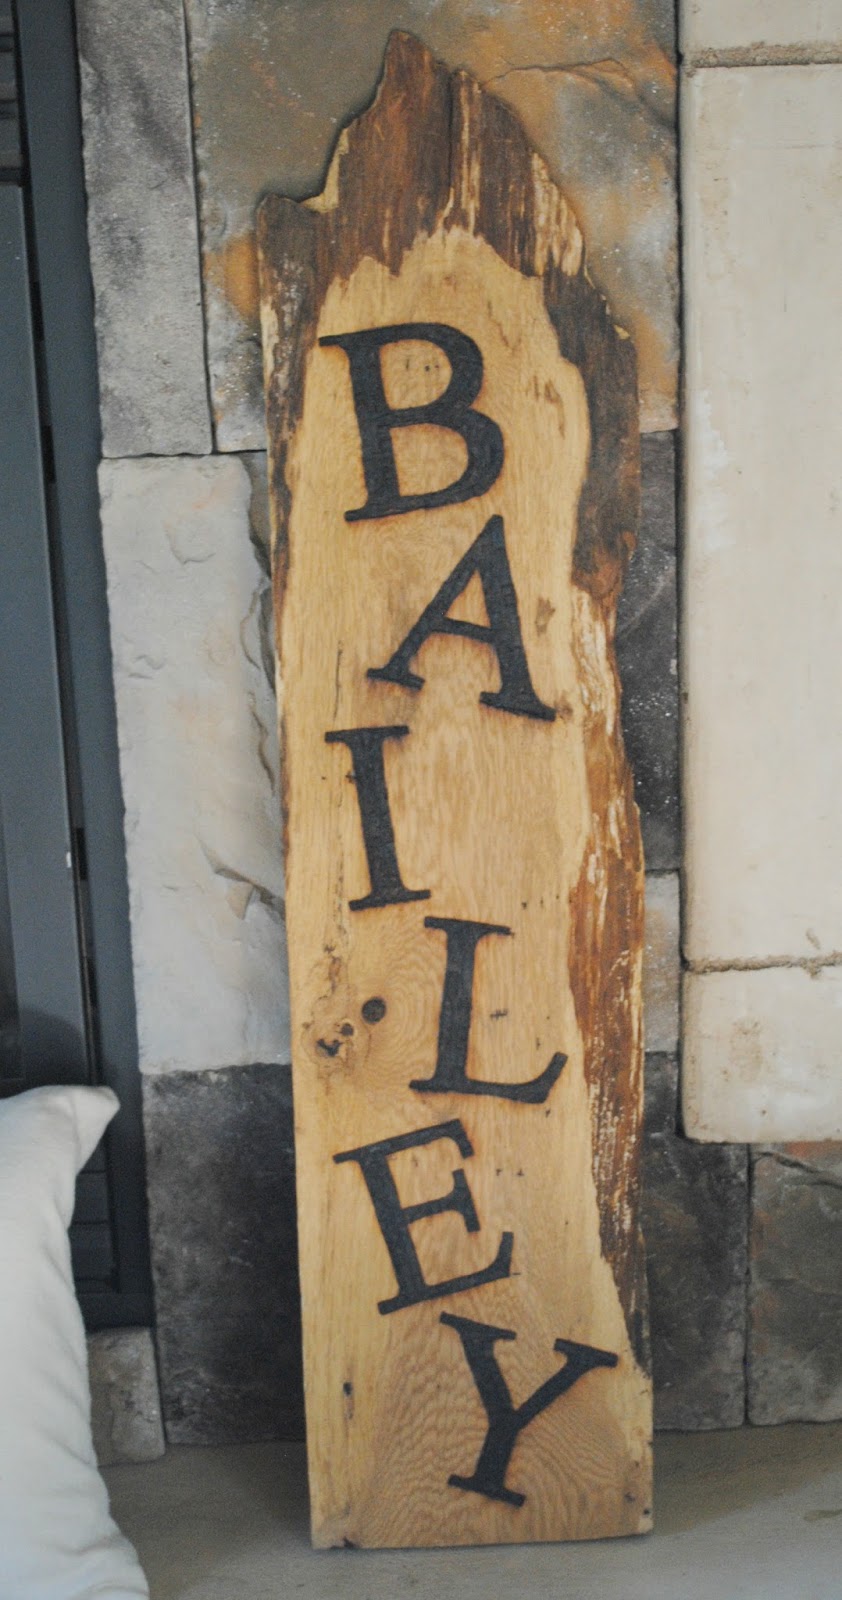
Wyatt has gotten quite good at wood-burning...and loves every excuse to burn wood that he gets.

          ....so, of course he had to have several items to show off his skills!


This piece of wood was a scrap from our pile. It kinda has a mountain range look to it... and you know this mama can't resist mountains! 

             ....or our family name displayed anywhere and everywhere!


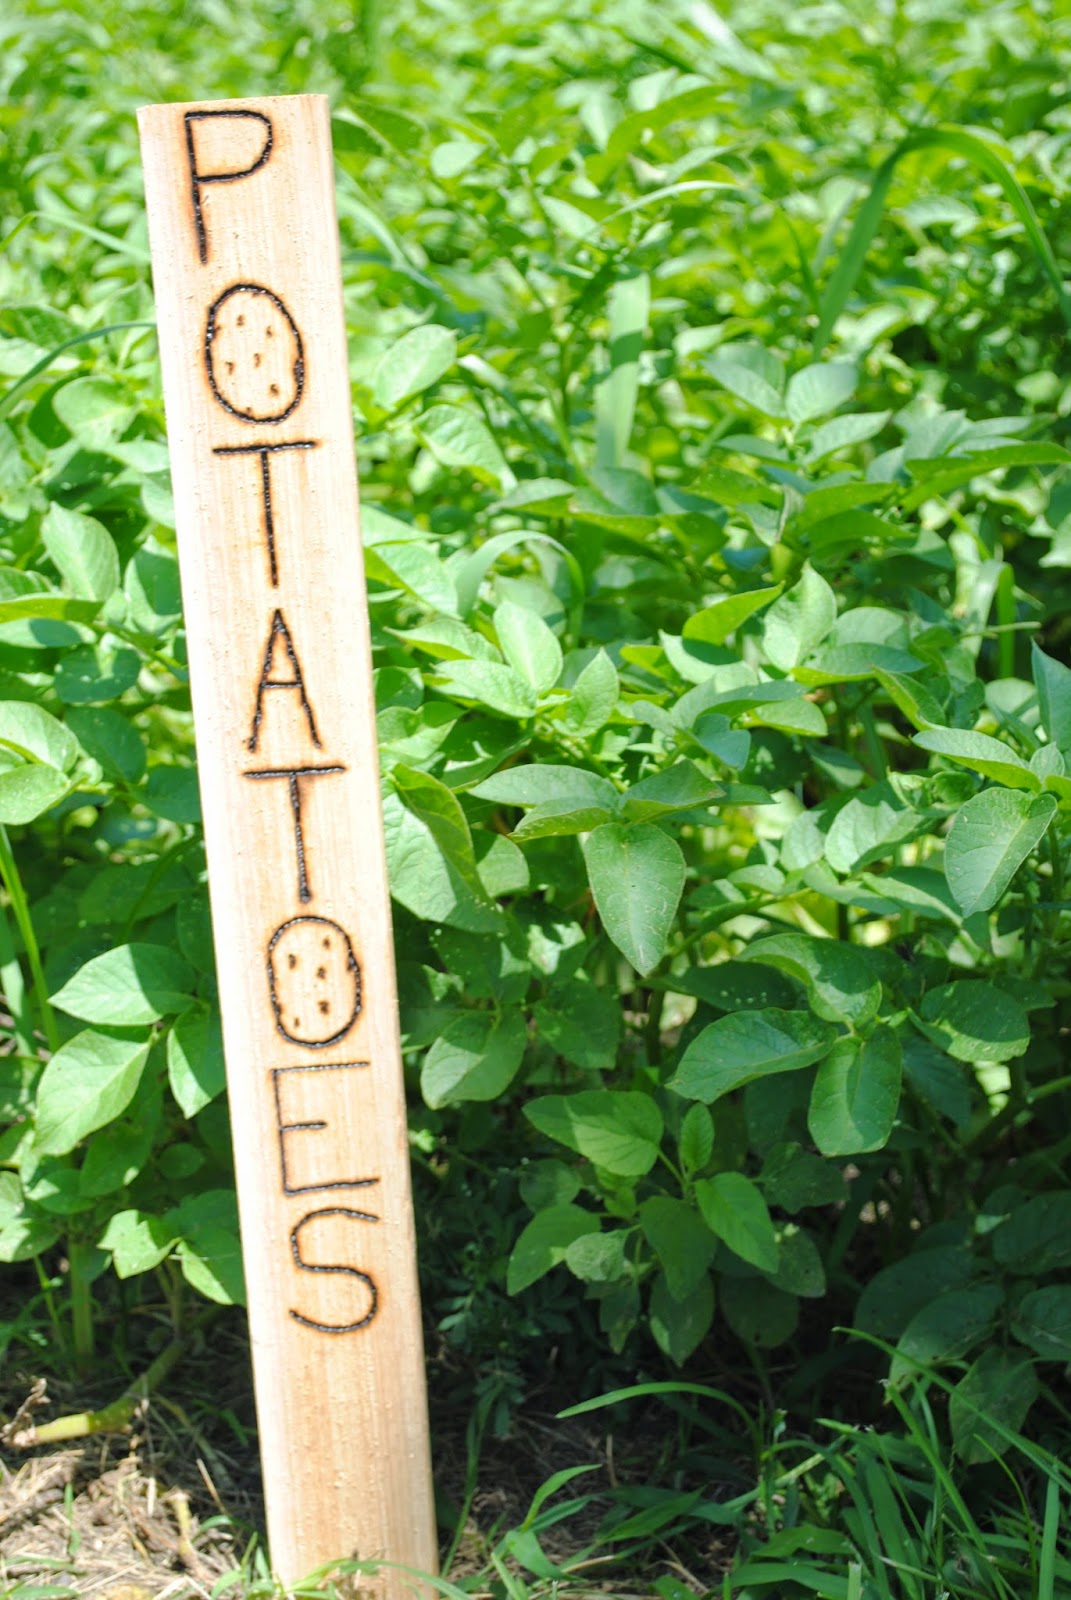
And with other wood scraps, my lil wood-burner came up with these....


These are garden markers! And they look so beautiful in our garden.


What I love about making projects for 4H, is that the kids get to use their creativity. They prepare a goal sheet and write (book report style) about the elements of design, costs of the project, etc. I really do "make" them do this on their own...it gives them a sense of pride...

                        .....I hope......

Here are some projects from other children's booths, some of these are really quite amazing! I only hope that the kids actually did these themselves! ;)


Both of these projects were selected to move onto the State Fair, and with good reason.... I would buy these any day! 


 I am so mad at myself for not having my camera to take these, they turned out so blurry, but I wanted to share this bookcase that spells out "Love", what a fun wood project I bet this was to make! And who could resist that little table in front of it? It's a flag pattern made from tops of beer bottles...

                         ......recycling at it's best :)........


And we personally know the girl who made this project, I thought it was a genius idea.... a spot for each family member's drink. This is where you keep it throughout the day, so no confusing who's is whose and no dirtying several cups. I just may have to copy this for our family! 

                          ....ain't nobody got time to do dishes all day!


Oh, how could I forget Wyatt's BIG project? He had been planning this all winter, and couldn't wait to see it done! I showed a peak of it on our Facebook page , but here it is again: The Miniature Garden


This now sits proudly on our back porch! And he is in the planning stages of next year's Miniature Garden... 

         ...... but won't actually DO it until a few days before the Fair I'm sure!


Wednesday, July 23, 2014

Painted Tree Stump in 7 Easy steps

Thanks to all of you who emailed, texted, commented, and called your condolences over losing our Hershey-Girl. She was a sweet and loving member of our family and will forever be missed!! We've never had to deal with losing a pet like this yet, so new territory for us, and will take a while to "get over", if it's at all possible. 

Now, I need to focus on fun stuff....
I wanted to show you all how easy it is to make a Painted Tree Stump side table. I showed this in our Living Room Summer Tour. We named him Scout, because every great thing needs to have a name! Ha!


First: Get a talented, handsome husband to make a stump level-ish for you.
 (Don't mind the beer can...hey, whatever it takes :)) In his line of business we have access to plenty of stumps. I recommend you dry it out for a while in your garage, and this will also make sure any bugs are gone from it. 


Second: Try to come up with a design pattern that you like. I knew I wanted something "Tribal" looking. I played around with some different patterns until I got the look I wanted. I really love the colors of brown, black, and white together, so this is what I designed


I also measured the stump to see what dimensions I wanted each row to be.

Third: I placed the stump on a drop cloth and picked out paints, it's actually pretty unpainted....but I didn't want a natural stump here. I used Annie Sloan's Old White (because I just love that white, and it's all I had on hand), and just black and brown acrylic paint that I already had also.


Fourth: Measuring and drawing the lines, this was a little time consuming...but so worth the look you get! Then I started with the white and painted one stripe at a time. 


Fifth: After painting the white and black stripes, I drew on the pattern. I DID NOT want this step to be perfect. I just eye-balled it, with no measuring. To me, the Tribal look is supposed to be imperfect and free-hand looking


Sixth: When the pattern was painted on, I thought this would be complete, but I decided I wanted a defined line between the stripes. So for that, I got out our trusty wood-burner. If you don't have one, you could skip this step. But we love wood-burning and use it often.

{I asked the Baileyhusband to help in this step so I could take a picture, besides, his hands are cuter than mine}

Seventh: If you have wood floors, I recommend using felt (or something else like it) on the bottom of your VERY HEAVY new side table. I hot-glued it on. I like to rearrange often, and this was a must for us to protect our floors!


Now the stump is ready to be used as a very stylish side table! I am so completely in love with this table and can't wait to see all the places it will end up in our home. 


I have had fun adding some accessories to it over the couple weeks we have had it. 


So, what do you think? Easy enough, right? Be very careful....it is addicting, and now I want a tree stump in every room! I think a plain green (my favorite color) is in my future...and I would love one painted with a fun, girly pattern for one of the girls. The possibilities are as endless as your imagination. Have fun!! And let me know if you tackle one of your own, I would love to see them!  


Sharing this with: Inspire Me Please Linky Party
                                Jen Rizzo's Fabulously Creative Linky Party
                               The Inspiration Exchange

Monday, July 14, 2014

Obsessed Much Monday: County Fair Projects

With the approaching County Fair this week, and because we are HUGE procastinators (I like to think we are just so busy, but the truth is we always wait until the last minute!!), we have been in PROJECT MODE here at the Bailey household. 

I will not show quite yet (mainly because we aren't completely finished) the projects that Sierra and Wyatt are taking to the fair this year. But, believe me, they are SO COOL! 

I will, however, give you a peek at the inspiration behind some of those projects, or at least images we have found that are similar to what they wanted to create!


Aren't those Dream Catchers BEAUTIFUL!?!? All of the images above were taken from Pinterest, if you click on them, it will take you there! 

Believe me....the one that Sierra created is amazing! And HUGE! And I have several places that I could hang it in our home! 

She has also made some tie-die pillow cases...fun, fun, fun! I already have other tie-die projects that I have her signed up to make for me (she just doesn't know it yet!). The image below is the tie-die method that she used, it's not your typical multi-colored one....and I love it! 

{From White Buffalo Styling Co. ~ found on Pinterest}
Now moving on to Wyatt's project inspirations....he has his hands full, but he is ALMOST done. Here is a little peak at what is inspiring him:

Wait until you see the cutest project he made with regards to Olaf (from Frozen, the movie) I just may have to print this image for my winter-self! :)


This next image of Garden Markers are as close as I could get to show some hint of what Wyatt created, his are much cooler (says his mom!)


Wyatt is showing some photography of a baby calf (Alaska), as well as a wood-burned sign of our Family name.... but the most time-consuming and detailed project that he will be showing is not even close to being done yet (cue this Mama getting anxiety hives)...we still have to purchase just the right plants for it and get everything potted...and yes, judging is in 2 days!!

This is a little peak at some inspiration:

{Wyatt actually owns this book and has been using it as a guide}
                                  
Anyway, so here is what has me so OBSESSED on this Monday....my mind is in 5 different time zones and I'm trying to stay calm and organized....HA! I have a camper to pack, a house to clean, chores that need done, mouths to feed....you get the picture. But don't mind me, I will be the zombie walking around the garden center in about an hour with a twelve year old....Good Times! :)

Now, all my friends....you all have a great Monday!!


This is "What I NEVER knew that I ALWAYS wanted"

A born and raised city girl, finding the country life to be the real me! Every day is an adventure, and each season brings new excitement and experiences. I am learning and loving the path of finding my true passion....making this little farm our HOME!